Introduction
The video demonstrates the process of bending brake lines, cutting them to size, and creating inverted flares. This is essential for custom fitting brake lines in automotive projects.
Bending Brake Lines
- Using a Bender:The preferred method involves a brake line bender.Insert the line into the bender and press the levers to create the desired bend.The bender allows precise adjustments to the angle and shape of the bend.
- The preferred method involves a brake line bender.
- Insert the line into the bender and press the levers to create the desired bend.
- The bender allows precise adjustments to the angle and shape of the bend.
Cutting and Reaming Tubing
- Cutting the Line:Use a tubing cutter to cut the brake line to the required length.Align the cutting wheel with your mark and turn the cutter while tightening until the tubing is cut through.
- Use a tubing cutter to cut the brake line to the required length.
- Align the cutting wheel with your mark and turn the cutter while tightening until the tubing is cut through.
- Reaming the Cut Edge:After cutting, ream out any burrs with a pocket knife.Use a file to smooth the sharp edge before proceeding.
- After cutting, ream out any burrs with a pocket knife.
- Use a file to smooth the sharp edge before proceeding.
Creating Inverted Flares
- Preparing for Flare:Always slide the fitting nut onto the tubing before flaring.
- Always slide the fitting nut onto the tubing before flaring.
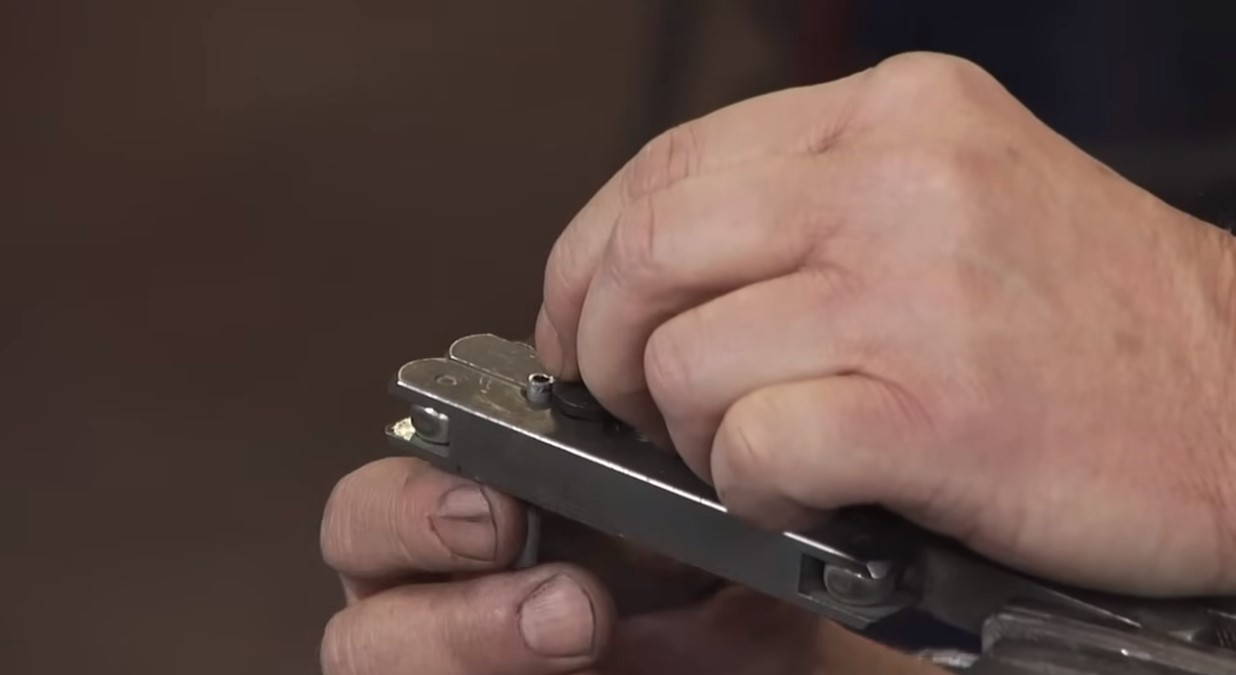
- Using the Flaring Block:Insert the tubing into the flaring block, selecting the appropriate size (e.g., 3/16” line).Adjust the tubing so it sticks out as much as the die step.Tighten the clamp and then the die to form the flare.Remove the die to reveal the bubbled shape, then push it down into a full flare fitting.
- Insert the tubing into the flaring block, selecting the appropriate size (e.g., 3/16” line).
- Adjust the tubing so it sticks out as much as the die step.
- Tighten the clamp and then the die to form the flare.
- Remove the die to reveal the bubbled shape, then push it down into a full flare fitting.
Finalizing the Brake Line
- The inverted flare is now complete and the brake line is ready for use in your project.
Conclusion
The video concludes by affirming that with these steps, you can effectively create custom brake lines for any automotive project.
Author video @ClassicCarRestorationClub - link channel: https://www.youtube.com/@ClassicCarRestorationClub
FAQ
What tools do I need to bend and cut brake lines?
You’ll need a brake line bender, a tubing cutter, a pocket knife for reaming, and a file to smooth the cut edge.
How do I create an inverted flare on a brake line?
First, ensure the fitting nut is on the tubing before flaring. Use a flaring block to shape the tubing by inserting it into the block and applying the appropriate die. Tighten until the flare is formed, then remove the die and adjust as needed.

