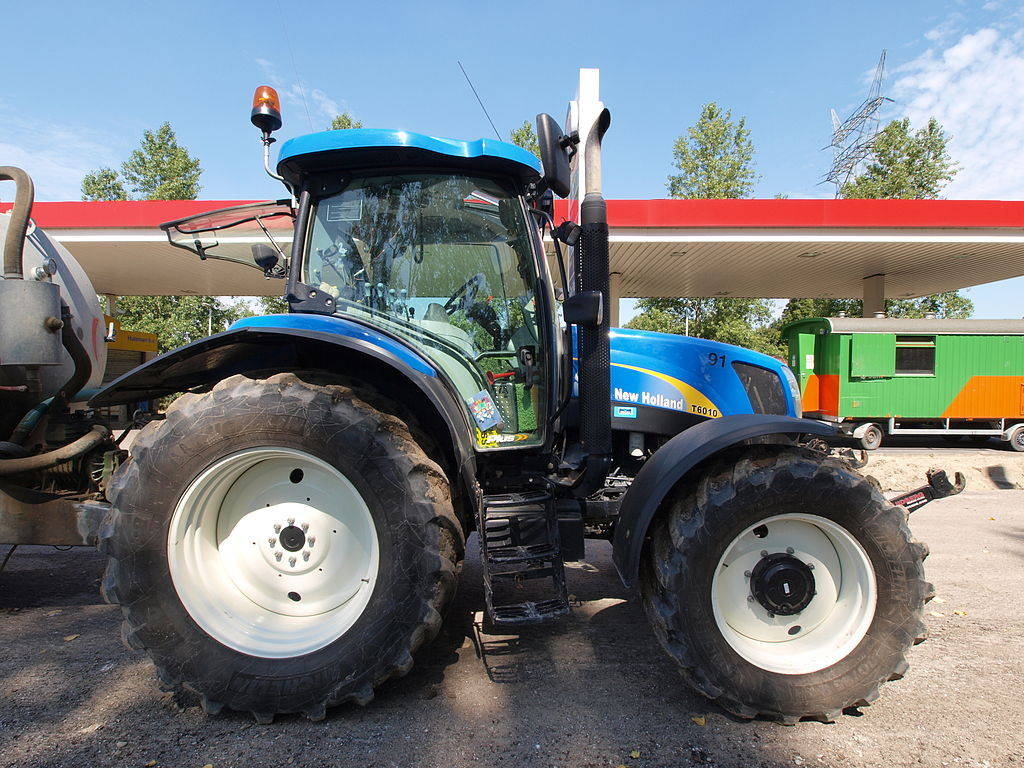
Replacing the battery in your New Holland tractor is a vital maintenance task that ensures your tractor operates efficiently. Here’s a step-by-step guide to help you replace the battery safely and effectively.
Tools and Materials Needed
- New tractor battery (check your tractor’s manual for the correct type and size)
- Wrenches or socket set
- Battery terminal cleaner or wire brush
- Gloves and safety glasses
- Battery terminal protectant (optional)
- Rags or paper towels
Step-by-Step Guide
1. Preparation
- Park the Tractor Safely: Park your tractor on a flat, stable surface. Engage the parking brake and turn off the engine.
- Disconnect Implement: If any implements are attached, disconnect them to ensure they don’t interfere with the battery replacement process.
- Wear Safety Gear: Put on gloves and safety glasses to protect yourself from battery acid and other hazards.
2. Locate the Battery
- Open the Hood: Open the tractor’s hood or access panel to locate the battery. The battery is usually located near the front of the tractor.
- Identify Terminals: Identify the positive (+) and negative (-) terminals on the battery.
3. Remove the Old Battery
- Disconnect the Negative Terminal: Using a wrench or socket, loosen the nut on the negative (-) terminal first. Remove the cable and set it aside, ensuring it doesn’t touch any metal parts.
- Disconnect the Positive Terminal: Loosen the nut on the positive (+) terminal and remove the cable. Set it aside carefully.
- Remove Battery Hold-Down: If your battery has a hold-down bracket or strap, remove it using the appropriate tool.
- Lift Out the Battery: Carefully lift the old battery out of the battery tray. Batteries can be heavy, so use proper lifting techniques.
4. Clean the Battery Tray and Terminals
- Clean the Tray: Use a rag or paper towel to clean any dirt or debris from the battery tray.
- Clean Terminals: Use a battery terminal cleaner or wire brush to clean the cable terminals and battery tray. Ensure all corrosion is removed for a good electrical connection.
5. Install the New Battery
- Place the New Battery: Carefully place the new battery into the battery tray, ensuring the terminals are in the correct orientation.
- Secure the Battery: Reinstall the hold-down bracket or strap to secure the battery in place.
6. Reconnect the Battery Cables
- Connect the Positive Terminal: Attach the positive (+) cable to the positive terminal of the new battery. Tighten the nut securely.
- Connect the Negative Terminal: Attach the negative (-) cable to the negative terminal of the new battery. Tighten the nut securely.
7. Apply Terminal Protectant (Optional)
- Protect the Terminals: Apply a battery terminal protectant spray to help prevent corrosion.
8. Final Checks
- Check Connections: Ensure all connections are tight and secure. Double-check that the terminals are properly attached.
- Close the Hood: Close the hood or access panel.
9. Test the Tractor
- Start the Engine: Start the tractor to ensure the new battery is functioning correctly.
- Check for Issues: Verify that all electrical components are working properly.
Tips
- Regular Maintenance: Check your battery terminals regularly for corrosion and clean them as needed.
- Proper Disposal: Dispose of the old battery at a recycling center or automotive store that accepts used batteries.
- Battery Storage: If storing the tractor for an extended period, disconnect the battery to prevent it from draining.

