

When my Buick Regal's alternator failed, I noticed the warning signs immediately: dim lights, a weak battery, and an unusual whining sound from the engine. Here's my detailed step-by-step guide for a successful alternator replacement, from first-hand experience and research from online Buick forums and repair manuals.
Introduction: Recognizing the Symptoms and Planning the Repair
The alternator in any car, especially a Buick Regal, is central to keeping electrical components running smoothly. Without it, the car's electrical system can become unstable, causing everything from dim lights to battery drain. To get a sense of what was going wrong, I started with some research on forums, and other owners noted similar issues. Here's how I tackled the job.
Tools and Materials Required
Essentials:
- Sockets and Ratchet Set: 13mm and 15mm.
- Belt Tensioner Tool: To release the serpentine belt tension.
- New Alternator: Double-check for compatibility with your Buick Regal’s make and year.
- Battery Terminal Cleaner: Ensures a clean, solid connection.
Step 1: Disconnecting the Battery for Safety
Disconnecting the battery is a crucial first step. I disconnected the negative terminal to prevent short circuits or electrical shocks. A quick tip I found on a forum suggested keeping a battery memory saver, which preserves your radio and clock settings if you’re planning a long repair session.
Step 2: Accessing the Alternator and Releasing the Belt
To access the alternator, I opened the hood and located it on the passenger side. Next, I used a belt tensioner tool to release the serpentine belt. From my research, I learned that the belt tensioner can be stubborn, so I made sure to keep a firm grip.
Step 3: Removing the Old Alternator
The alternator in the Buick Regal is secured by a few bolts. With a socket wrench, I loosened and removed these, making sure to note each bolt size. Owner Tip: Another Buick owner suggested labeling or snapping a photo of connections to avoid mistakes during reinstallation.
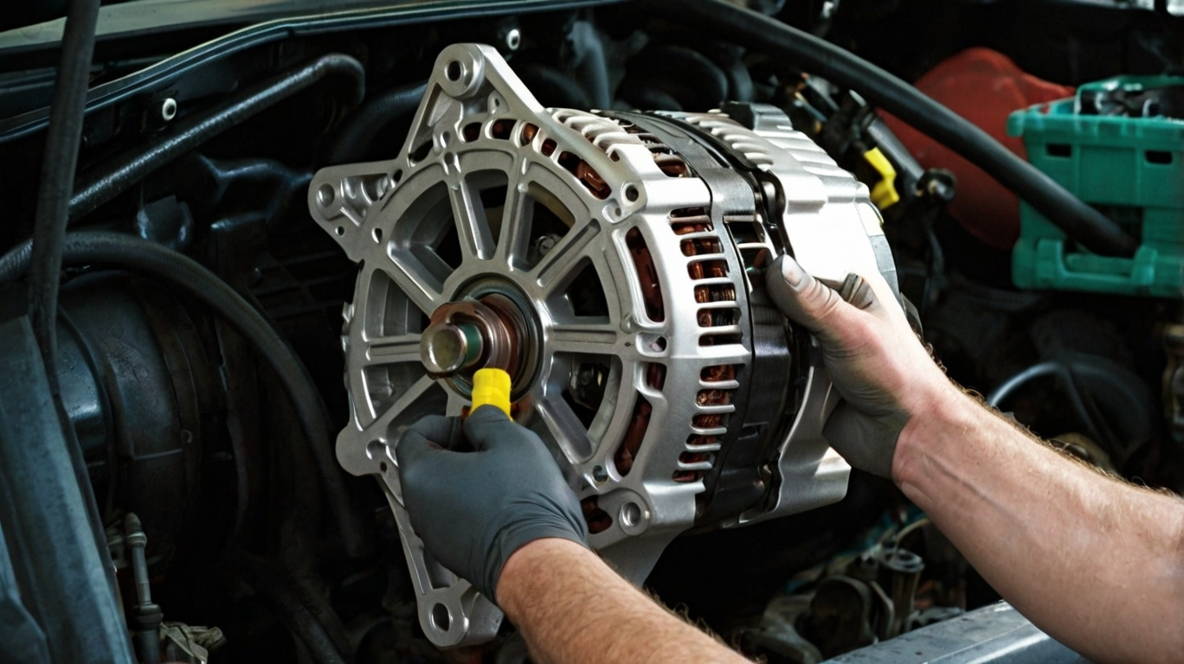
Step 4: Installing the New Alternator
Aligning the new alternator is straightforward, but here’s where patience pays off. Connecting each wire securely is crucial. A forum suggestion reminded me to apply a small amount of dielectric grease to the connectors, ensuring solid, corrosion-free contacts.
Step 5: Reattaching the Belt and Reconnecting the Battery
Once the new alternator was in place, I carefully reinstalled the serpentine belt and used the tensioner tool to secure it. Reconnecting the battery was the final step.
Choosing the Right Alternator
After extensive research and advice from Buick owners, I selected a reliable mid-range alternator with an extended warranty. Most alternators range from $150 to $400, with labor costs running about $100-$200 if done professionally. I’d suggest a trusted brand with good customer reviews, as cheap alternatives may cause premature failures.
Lessons Learned and Final Tips
One surprising thing was just how important it is to ensure each connection is clean and tight. Any looseness can affect charging performance, so double-checking is a must. I also realized that regular alternator inspections could prevent unexpected failures – a quick check once a year can save you the hassle of being stranded.
FAQs
Q: Can I drive with a failing alternator?A: It’s possible but risky. The alternator charges the battery, and without it, the car could die mid-drive.
Q: How long does an alternator typically last in a Buick Regal?A: Usually around 80,000-150,000 miles. Routine maintenance can extend its life.
Q: Should I replace the serpentine belt at the same time?A: Yes, if it’s worn. Replacing it during alternator repair is efficient and cost-effective.