

Overview of the cost-effective methods to replace a carrier bearing
Replacing a carrier bearing can be a costly endeavor, especially if you opt for professional services from a repair shop or dealership. However, there are cost-effective methods available that can save you a significant amount of money while ensuring the job is done correctly. In this guide, we will explore two main approaches: the DIY (Do-It-Yourself) method and hiring a professional mechanic.
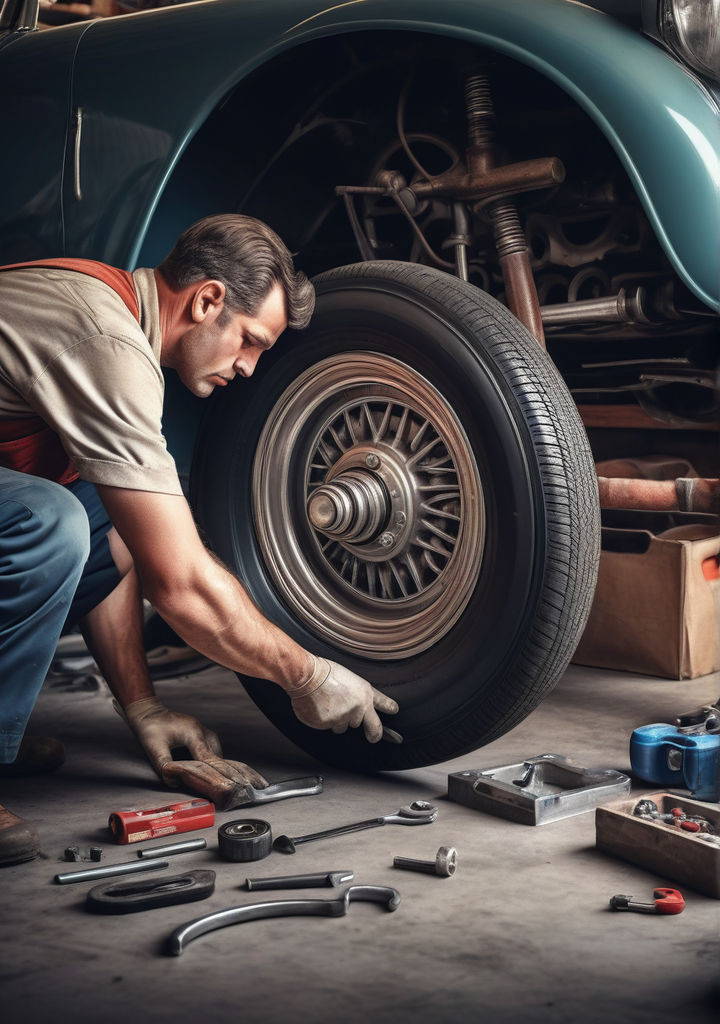
DIY approach: Step-by-step guide on how to replace a carrier bearing
For those with mechanical skills and a willingness to tackle the job themselves, the DIY approach can be a cost-effective solution for replacing a carrier bearing. While it requires more effort and time, the potential savings can be substantial. Here's a step-by-step guide to help you through the process:
- Prepare the workspace: Start by ensuring you have a clean, well-lit, and organized workspace. Gather all the necessary tools and equipment, and have the replacement carrier bearing on hand.
- Safely lift and support the vehicle: Properly lift and support your vehicle using jack stands or a hydraulic lift, ensuring it is stable and secure.
- Remove the driveshaft: Disconnect the driveshaft from the differential housing by removing the necessary bolts or clamps.
- Drain the differential fluid: Locate the drain plug on the differential housing and drain the fluid into a suitable container.
- Remove the differential housing cover: Carefully remove the differential housing cover, taking note of the orientation and placement of any shims or gaskets.
- Remove the old carrier bearing: Using the appropriate tools, such as a bearing puller or a press, carefully remove the old carrier bearing from the housing.
- Clean and inspect the housing: Thoroughly clean the housing and inspect it for any signs of damage or wear. If necessary, replace any worn or damaged components.
- Install the new carrier bearing: Carefully install the new carrier bearing, following the manufacturer's instructions and using the appropriate tools and techniques.
- Reassemble the differential housing: Reassemble the differential housing, ensuring all components are properly aligned and secured.
- Refill the differential with fresh fluid: Refill the differential housing with the recommended type and amount of fresh differential fluid.
- Reinstall the driveshaft: Reconnect the driveshaft to the differential housing, ensuring it is properly aligned and secured.
- Lower the vehicle and test: Carefully lower the vehicle back to the ground and take it for a test drive to ensure everything is functioning correctly.
Tools and equipment needed for the replacement process
To successfully complete the carrier bearing replacement process, you will need a variety of tools and equipment. Here's a list of essential items you'll need to have on hand:
- Jack and jack stands or a hydraulic lift
- Wrenches and sockets (metric and standard sizes)
- Torque wrench
- Pry bars and scrapers
- Bearing puller or press
- Hammer and punch
- Grease and lubricants
- Drain pan for differential fluid
- Replacement differential fluid
- Safety equipment (gloves, goggles, etc.)
It's important to have the right tools and equipment to ensure the job is done correctly and safely. If you're unsure about any aspect of the process or lack the necessary tools, it may be wise to seek professional assistance.
Common challenges and troubleshooting tips during the replacement
While the process of replacing a carrier bearing may seem straightforward, there are potential challenges and issues that can arise. Here are some common challenges and troubleshooting tips to help you navigate through them:
- Stuck or seized components: Over time, components can become stuck or seized due to rust, corrosion, or age. If you encounter this issue, try applying penetrating lubricants or carefully heating the area to help break the components free.
- Alignment issues: Proper alignment is crucial when reassembling the differential housing and reconnecting the driveshaft. Double-check all measurements and alignments to ensure smooth operation and prevent premature wear or damage.
- Leaks: After reassembly, inspect for any leaks around the differential housing or seals. If leaks are present, double-check the installation and tightness of components, and replace any damaged seals or gaskets.
- Noise or vibrations: If you notice any unusual noises or vibrations after the replacement, it could indicate an issue with the installation or other components. Retrace your steps and ensure everything is properly aligned and tightened.
- Differential fluid level: Maintaining the correct differential fluid level is essential for proper operation. Refer to your vehicle's owner's manual for the recommended fluid type and amount, and double-check the level after reassembly.
Remember, patience and attention to detail are crucial when performing any automotive repair. If you encounter any issues you cannot resolve or feel uncomfortable with any part of the process, it's always better to seek professional assistance to avoid further damage or potential safety risks.
Estimated cost breakdown for replacing a carrier bearing
The cost of replacing a carrier bearing can vary depending on several factors, such as the make and model of your vehicle, the labor costs in your area, and whether you choose the DIY approach or hire a professional mechanic. Here's an estimated cost breakdown to help you plan and budget accordingly:
DIY Approach:
- Replacement carrier bearing: $50 - $300 (depending on the brand and quality)
- Differential fluid: $10 - $30
- Tools and equipment (if you need to purchase them): $100 - $500
- Total estimated cost (DIY): $160 - $830
Professional Mechanic:
- Labor costs: $200 - $500 (depending on the mechanic's hourly rate and the complexity of the job)
- Replacement carrier bearing: $50 - $300 (typically included in the labor cost)
- Differential fluid: $10 - $30 (typically included in the labor cost)
- Total estimated cost (professional mechanic): $260 - $830
It's important to note that these cost estimates are approximate and can vary based on your specific vehicle and location. Additionally, if any other components need to be replaced or repaired during the process, the costs may increase accordingly.
Pros and cons of hiring a professional for carrier bearing replacement
While the DIY approach can save you money, hiring a professional mechanic for carrier bearing replacement has its own advantages and disadvantages. Here are some pros and cons to consider:
Pros of hiring a professional:
- Expertise and experience: Professional mechanics have the necessary expertise and experience to handle complex automotive repairs, ensuring the job is done correctly and efficiently.
- Warranty and liability: Many repair shops offer warranties on their work, providing peace of mind and protection against potential issues or defects.
- Time-saving: Hiring a professional can save you significant time and effort, as they have the tools, equipment, and expertise to complete the job quickly.
- Access to specialized tools and equipment: Professional mechanics have access to specialized tools and equipment that may be difficult or expensive for DIYers to acquire.
Cons of hiring a professional:
- Higher costs: Professional labor costs can significantly increase the overall expense of the repair.
- Lack of control: When hiring a professional, you have less control over the process and may need to rely on their recommendations and decisions.
- Potential for additional repairs: Professional mechanics may identify and recommend additional repairs or replacements, which can further increase the overall cost.
- Scheduling and availability: Finding a reputable and available mechanic can be challenging, especially during peak seasons or in certain locations.
Ultimately, the decision to pursue the DIY approach or hire a professional should be based on your mechanical skills, available time, budget, and personal preferences.
Where to find affordable carrier bearing replacement parts
Whether you choose the DIY approach or opt for professional services, finding affordable and high-quality carrier bearing replacement parts is crucial. Here are some reliable sources to consider:
- Online automotive parts retailers: Many reputable online retailers, such as RockAuto, AutoPartsWay, and PartsGeek, offer a wide selection of carrier bearings at competitive prices. These websites often provide detailed product information, customer reviews, and easy navigation to help you find the right part for your vehicle.
- Local auto parts stores: Major auto parts chains like AutoZone, NAPA, and O'Reilly Auto Parts can be excellent sources for carrier bearings and other automotive components. Many of these stores offer price-matching policies and loyalty programs, which can help you save money.
- Salvage yards or junk yards: If you're on a tight budget, visiting local salvage yards or junk yards can be a cost-effective option for finding used or refurbished carrier bearings. However, it's essential to inspect the parts thoroughly and ensure they are in good condition before purchasing.
- Manufacturer or dealership parts departments: While typically more expensive, purchasing carrier bearings directly from the manufacturer or dealership can ensure you receive genuine, high-quality parts specifically designed for your vehicle.
When shopping for carrier bearing replacement parts, it's crucial to verify compatibility with your vehicle's make, model, and year. Additionally, consider factors such as brand reputation, warranty coverage, and customer reviews to ensure you receive a reliable and long-lasting product.