

Replacing the oxygen sensor in your 2020 Dodge Durango is a crucial maintenance task that helps keep your vehicle running efficiently and ensures optimal fuel economy. This guide will walk you through the steps of replacing the oxygen sensor, including tips for a DIY approach.
Understanding the Oxygen Sensor
The oxygen sensor measures the amount of oxygen in the exhaust gases and sends this information to the engine control unit (ECU). This data helps the ECU adjust the air-fuel mixture for optimal combustion. A faulty oxygen sensor can lead to poor fuel economy, increased emissions, and engine performance issues.
Symptoms of a Faulty Oxygen Sensor
- Check engine light is on
- Poor fuel economy
- Rough engine idle
- Increased exhaust emissions
- Engine misfire
Tools and Materials Needed
- New oxygen sensor (compatible with Dodge Durango 2020)
- Oxygen sensor socket
- Ratchet and extension
- Penetrating oil (e.g., WD-40)
- Safety gloves
- Jack and jack stands
Steps for Replacing the Oxygen Sensor
1. Preparation
- Park Safely: Park your Durango on a flat surface and let the engine cool down.
- Safety First: Wear safety gloves and ensure the vehicle is securely lifted with a jack and jack stands.
2. Locate the Oxygen Sensor
- Identify Sensor Location: The 2020 Dodge Durango typically has multiple oxygen sensors, located both before and after the catalytic converter. Consult your vehicle's manual to find the exact locations.
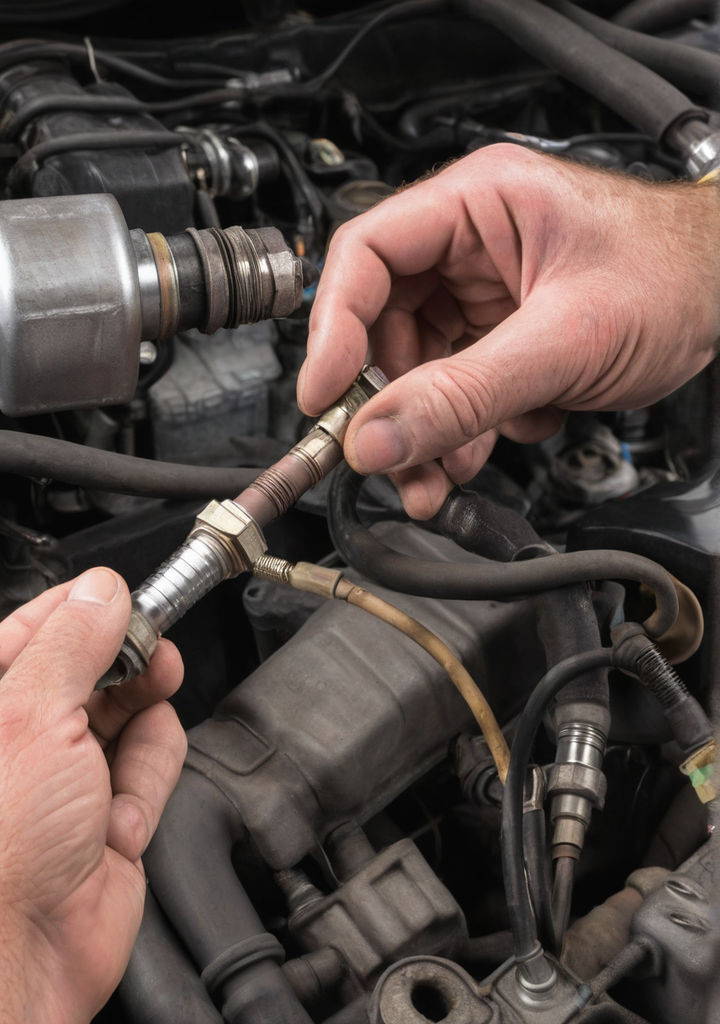
3. Remove the Old Oxygen Sensor
- Apply Penetrating Oil: Spray penetrating oil on the sensor's threads to help loosen it.
- Disconnect Wiring: Unplug the sensor’s electrical connector.
- Remove Sensor: Use the oxygen sensor socket and ratchet to carefully remove the old sensor.
4. Install the New Oxygen Sensor
- Compare Sensors: Ensure the new sensor matches the old one.
- Install New Sensor: Thread the new sensor into the exhaust pipe by hand to avoid cross-threading. Tighten it with the oxygen sensor socket.
- Reconnect Wiring: Plug the sensor’s electrical connector back in.
5. Final Steps
- Lower the Vehicle: Carefully lower the Durango from the jack stands.
- Clear Codes: If the check engine light was on, use an OBD-II scanner to clear any error codes.
DIY Option
Replacing an oxygen sensor can be a straightforward DIY task if you have the right tools and some mechanical knowledge. Always refer to your vehicle’s service manual for specific instructions and safety information.
FAQ: Common Questions About Oxygen Sensor Replacement
1. How often should I replace the oxygen sensor in my Dodge Durango?
- Oxygen sensors typically need replacement every 60,000 to 90,000 miles. However, if you notice symptoms of a faulty sensor, it’s best to replace it sooner.
2. Can I drive with a faulty oxygen sensor?
- While you can drive with a faulty oxygen sensor, it’s not recommended. A bad sensor can lead to poor engine performance, increased emissions, and reduced fuel economy.
3. Do I need a special tool to replace the oxygen sensor?
- Yes, an oxygen sensor socket is recommended to safely remove and install the sensor.
4. Will a new oxygen sensor improve my fuel economy?
- Yes, a functioning oxygen sensor helps ensure optimal fuel combustion, which can improve fuel economy.
5. What should I do if the check engine light remains on after replacing the sensor?
- If the check engine light remains on, use an OBD-II scanner to check for any additional issues or error codes.