


If you're experiencing issues with your 2018 Toyota 4Runner, such as strange noises or reduced performance, a damaged exhaust manifold might be the culprit. Repairing or replacing the exhaust manifold is crucial to maintaining your vehicle’s efficiency and performance. This guide provides an overview of the process and includes a DIY repair option for those who are comfortable working on their vehicle.
Symptoms of a Faulty Exhaust Manifold
- Exhaust Leaks: Noticeable hissing or tapping sounds, especially during acceleration.
- Reduced Engine Performance: Loss of power or efficiency.
- Burning Smell: A noticeable odor of burnt fuel or exhaust fumes.
- Check Engine Light: A malfunctioning exhaust manifold can trigger the check engine light.
Tools and Parts Needed
- Replacement exhaust manifold
- Ratchet and socket set
- Penetrating oil (for rusty bolts)
- Torque wrench
- Gasket scraper
- Safety glasses and gloves
- New exhaust manifold gasket and bolts
Step-by-Step Repair Guide
- Safety First: Park the 4Runner on a level surface, turn off the engine, and let it cool completely. Disconnect the battery to avoid any electrical issues.
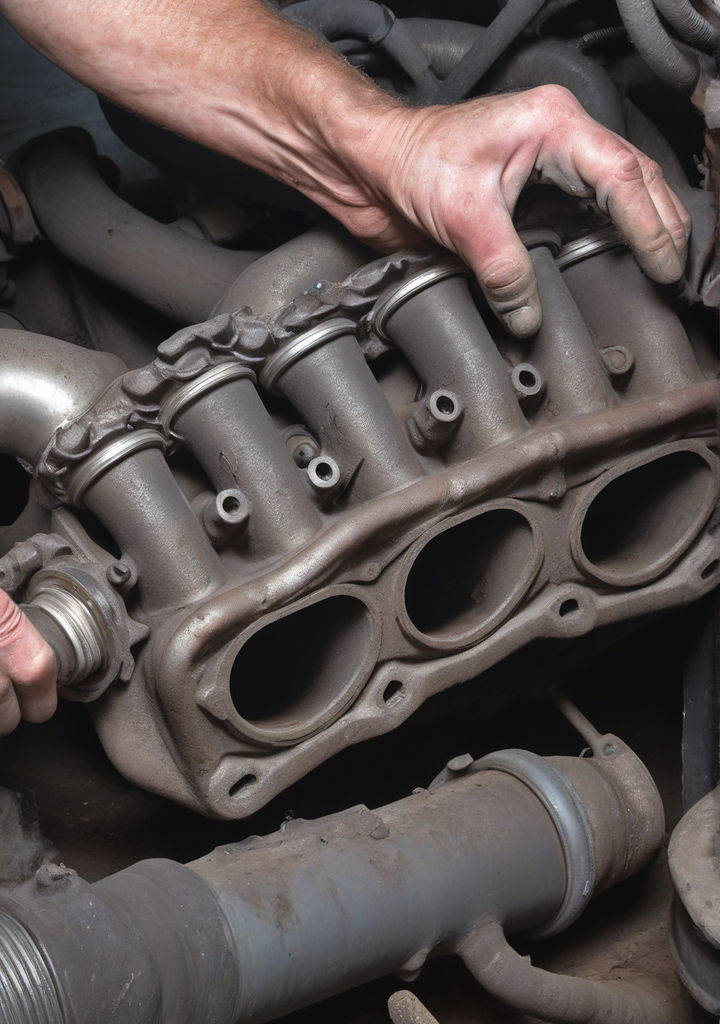
- Locate the Exhaust Manifold: The exhaust manifold is typically located at the front of the engine. Refer to your vehicle’s manual for the exact location.
- Remove Components: Depending on the layout, you may need to remove other components to access the manifold, such as the air intake, heat shield, or other obstructing parts.
- Apply Penetrating Oil: Spray penetrating oil on the manifold bolts and let it sit for a few minutes to loosen any rust or corrosion.
- Remove the Old Manifold: Carefully unscrew the bolts and remove the old exhaust manifold. Be mindful of any sensors or connections.
- Prepare the Surface: Clean the mounting surface on the engine with a gasket scraper to ensure a proper seal with the new gasket.
- Install the New Manifold: Place the new gasket and manifold in position. Hand-tighten the bolts to secure it in place.
- Torque the Bolts: Using a torque wrench, tighten the bolts to the manufacturer’s specifications. Over-tightening can damage the manifold or gasket.
- Reassemble and Test: Reattach any removed components, reconnect the battery, and start the engine. Check for leaks or unusual noises.
FAQ: Common Questions About Exhaust Manifold Repair
1. Can I drive with a faulty exhaust manifold? Driving with a damaged exhaust manifold is not recommended. It can lead to decreased engine performance, increased emissions, and potential engine damage.
2. How often should the exhaust manifold be inspected? It’s good practice to inspect the exhaust manifold during regular maintenance or if you notice any symptoms of damage. Early detection can prevent more severe issues.
3. Can I use aftermarket exhaust manifolds? Aftermarket manifolds can be used, but ensure they meet the specifications of the original part. Using subpar components can affect performance and longevity.
4. What causes exhaust manifold failure? Common causes include age, thermal stress, and physical damage. Regular inspections can help catch issues early.
5. Is DIY repair feasible for beginners? While possible, DIY repair requires a basic understanding of vehicle mechanics. If you're unsure, consulting a professional mechanic is advisable.