

Published in
DIY repair car
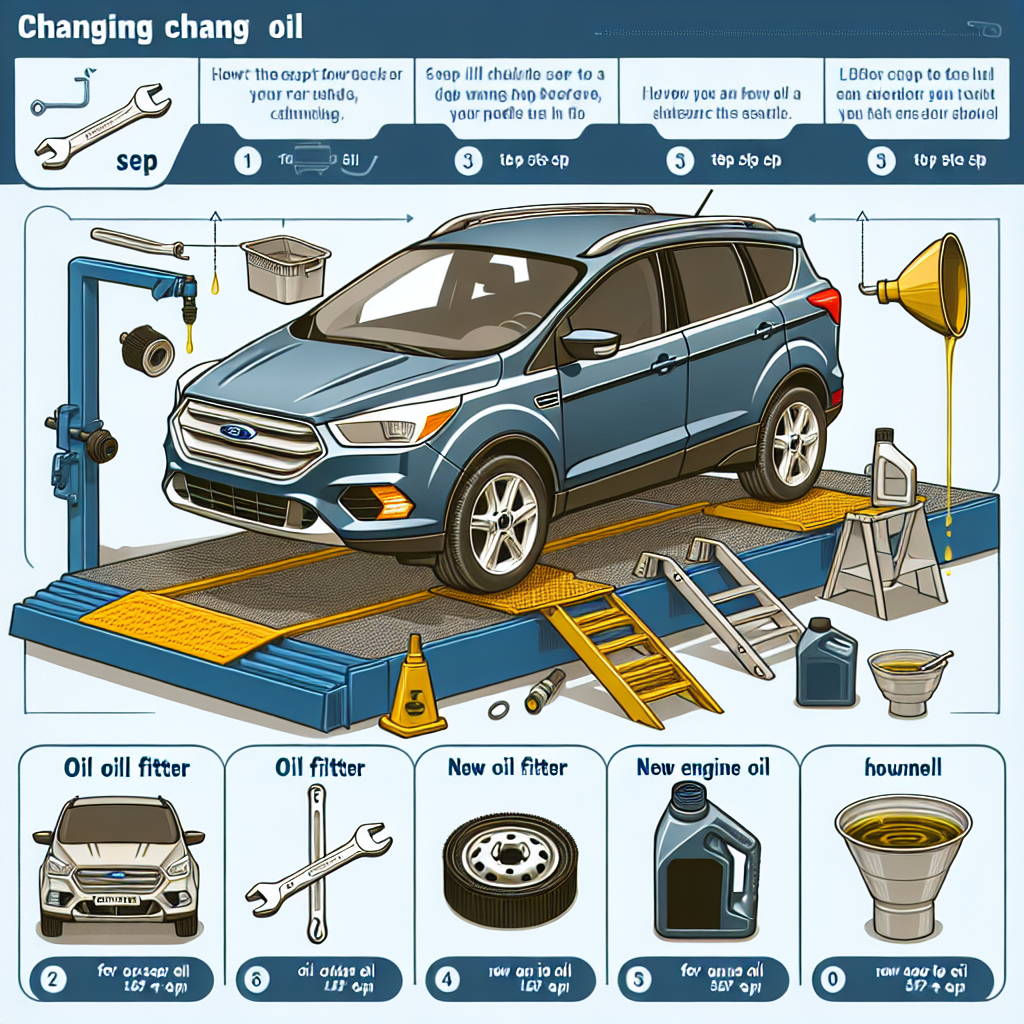
Changing your oil is a fundamental aspect of vehicle maintenance, and doing it yourself can save you both time and money. This guide will walk you through the process step-by-step.
Tools and Materials Required
- New oil filter
- New engine oil (as per manufacturer's recommendation)
- Oil drain pan
- Wrench set (including the appropriate socket for the drain plug)
- Jack and jack stands
- Funnel
- Cloth or paper towels for cleanup
- Oil filter wrench (if necessary)
- Oil filter gasket (if necessary)
Ensure you have the correct filter and oil by cross-referencing with your vehicle's manual or consulting a professional.
Step-by-Step Instructions
1. Prepare Your Vehicle
- Park on a level surface and engage the parking brake.
2. Lift the Vehicle
- Place the jack under the front center of the vehicle and lift the car. Secure it on jack stands for safety.
3. Drain the Old Oil
- Locate the oil drain plug underneath the engine and position the oil pan directly underneath it.
- Using the appropriate-sized wrench, loosen the oil drain plug and carefully remove it. Allow the old oil to drain completely into the pan.
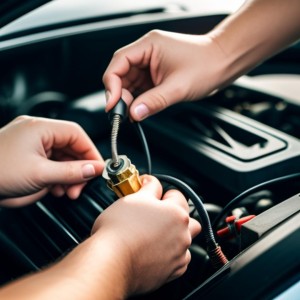
4. Remove the Old Oil Filter
- While the oil is draining, locate the oil filter, typically on the side of the engine. Place the oil pan under the filter to catch any additional oil.
- Unscrew the old oil filter with your hand or an oil filter wrench. Be cautious as the filter may still contain hot oil.
5. Install the New Oil Filter
- Before installing the new oil filter, lubricate the gasket on the new filter with a bit of fresh oil. This will ensure a proper seal and make it easier to remove during the next oil change.
- Screw on the new oil filter by hand, tightening it to the manufacturer's recommended torque. Do not over-tighten.
6. Reinstall the Oil Drain Plug
- Wipe the area clean and reinstall the oil drain plug, tightening it to the manufacturer's specifications.
7. Lower the Vehicle
- Lower the vehicle from the jack stands and remove the jack.
8. Add New Oil
- Using a funnel, pour in the appropriate amount of new oil for a 1.6L 4-cylinder engine. Refer to your owner's manual for the correct oil type and capacity.
9. Check for Leaks and Oil Level
- Start the engine and let it run for a few minutes to circulate the new oil. Check for any leaks around the oil filter and drain plug.
- Turn off the engine and wait a few minutes. Check the oil level using the dipstick and add more oil as needed to reach the proper level.
10. Dispose of Old Oil and Filter
- Dispose of the old oil and filter responsibly at a local recycling center.
11. Record the Oil Change
- Record the oil change details, such as the date and mileage, for future reference.
Common Mistakes to Avoid
- Using Incorrect Oil/Filter: Always use the recommended oil type and oil filter for your vehicle.
- Over-tightening/Under-tightening: Ensure the oil filter and drain plug are tightened to the manufacturer's specifications to avoid leaks.
- Improper Disposal: Used oil and filters should be disposed of at certified recycling centers.
- Incorrect Oil Level: Adding too much or too little oil can lead to engine damage or poor performance.
- Ignoring Leaks: Always double-check for leaks after completing the oil change.
- Reusing Old Gaskets/O-rings: Use new gaskets and O-rings to prevent leaks and ensure proper sealing.
- Vehicle Stability: Make sure the vehicle is securely placed on jack stands to avoid safety hazards.
- Resetting Indicators: Don’t forget to reset the oil change indicator light and follow recommended oil change intervals.
#DIY oil change 2016 Ford Escape SE 1.6L
#oil change guide Ford Escape 2016 SE
#2016 Ford Escape SE 1.6L oil change
#Ford Escape 2016 oil change instructions
#DIY oil change guide Ford Escape SE 1.6L 2016
#2016 Escape SE 1.6L oil change
#Ford Escape 2016 SE DIY oil change
#how to change oil 2016 Ford Escape SE 1.6L
#oil change steps Ford Escape SE 1.6L 2016
#2016 Ford Escape SE 1.6L oil maintenance