

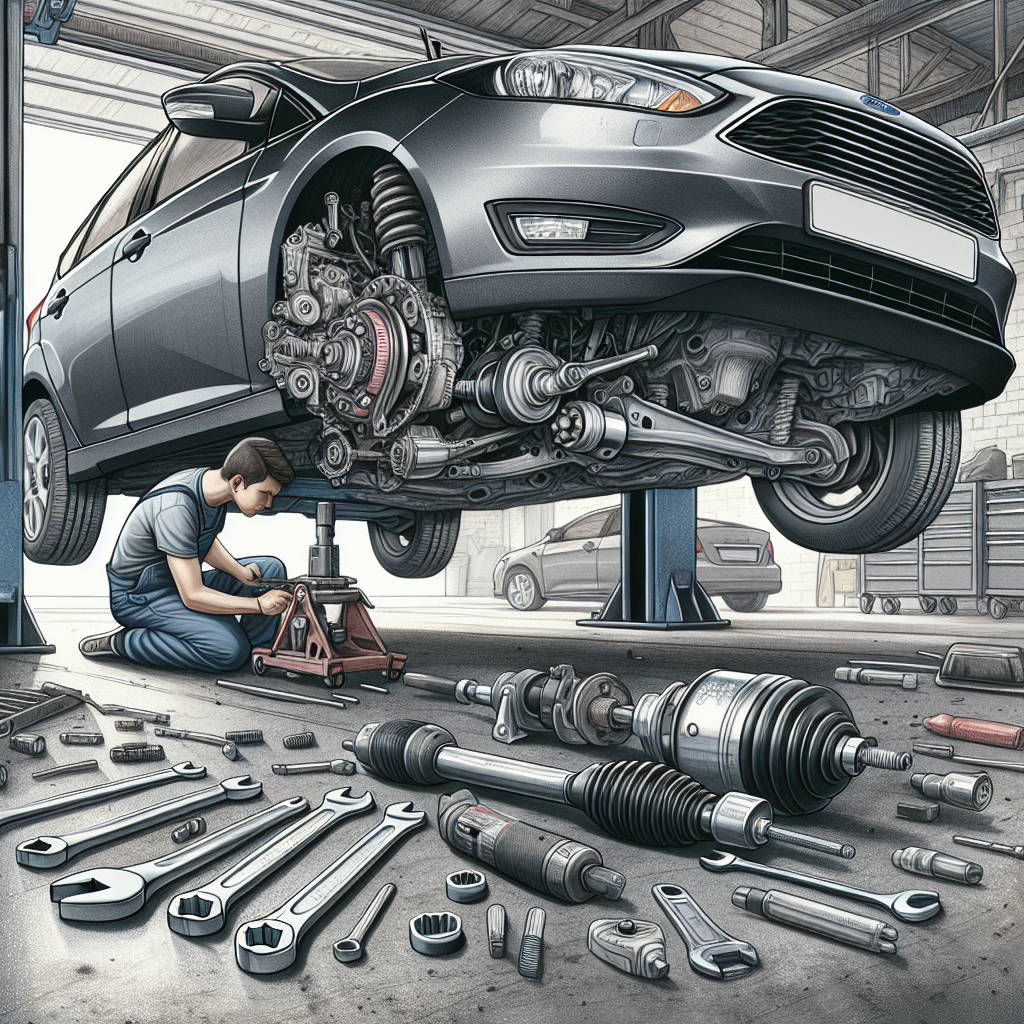
DIY Guide to Replacing the CV Joint on a Ford Focus 2015 SE Hatchback (2.0L Engine).
Are you hearing a clicking noise when you turn your car, or feeling vibrations during acceleration? These could be signs that your CV joint needs replacement. Follow this step-by-step guide to replace the CV joint on your Ford Focus 2015 SE Hatchback with a 2.0L engine.
Symptoms of a Faulty CV Joint
Before getting started, it’s important to confirm that the CV joint is indeed the issue. Look out for these common symptoms:
- Clicking or Popping Noise when turning, especially at low speeds.
- Vibrations in the vehicle, particularly during acceleration.
- Grease on the Inside of the Tire or near the wheel well, indicating a torn CV joint boot.
- Loose or Wobbly Steering Wheel while driving.
Tools and Parts You'll Need
Make sure you have all the necessary tools and parts before starting the repair:
- Tools:
- Jack
- Jack Stands
- Lug Wrench
- Pry Bar
- Replacement Parts:
- CV Joint
- CV Joint Boot
- Replacement Bolts
Step-by-Step Instructions
Follow these steps carefully to replace the CV joint:
Step 1: Ensure Safety
Park your car on a flat, stable surface and engage the parking brake. Safety first!
Step 2: Loosen the Lug Nuts
Use a lug wrench to loosen the lug nuts on the front wheels, but don't remove them completely yet.
Step 3: Jack Up the Car
Jack up the car and place it securely on jack stands. Then, remove the lug nuts and the wheels.
Step 4: Locate and Inspect the CV Joint
Find the CV joint and inspect it for damage. If the boot is torn or there's visible damage, it's time for a replacement.
Step 5: Remove the Axle Nut and Lower Ball Joint Nut
Using the appropriate tools, remove the axle nut and the lower ball joint nut. Keep these components in a safe place for later use.
Step 6: Dislodge the Joint
Carefully use a pry bar to dislodge the joint from the transmission or the wheel hub, depending on which end you are starting from.
Step 7: Slide Out the Joint
Once the joint is free, slide it out from the transmission or wheel hub, taking care not to damage the surrounding components.
Step 8: Clean the Area
Thoroughly clean the area around the joint to remove any dirt or debris.
Step 9: Install the New CV Joint
Install the new CV joint, ensuring it aligns correctly with the transmission or wheel hub. Using a bit of grease can ease the installation process.
Step 10: Reassemble the Ball Joint and Axle Nut
Reassemble the ball joint and axle nut, ensuring they are torqued to the manufacturer's specifications.
Step 11: Replace the Wheel
Put the wheel back and secure the lug nuts. Lower the car from the jack stands and torque the lug nuts in a star pattern to the correct specification.
Step 12: Test Drive
Take your vehicle for a test drive to ensure the repair was successful. Listen for any abnormal noises and pay attention to the steering and acceleration.
Step 13: Final Check
If everything is functioning properly, congratulations! You've successfully replaced the CV joint. If issues persist, re-inspect your work or seek professional assistance.
Conclusion
Replacing the CV joint on your Ford Focus 2015 SE Hatchback may seem daunting, but with the right tools and this step-by-step guide, you can do it yourself and keep your vehicle running smoothly. Happy repairing, and drive safely!
For more vehicle maintenance tips and guides, subscribe to our newsletter or book a consultation with our experts.