Symptoms Indicating the Need for a Catalytic Converter Replacement
If your Chevrolet Tahoe 2015 is exhibiting any of the following symptoms, it may be time to replace the catalytic converter:
- Decreased engine performance and acceleration.
- Frequent stalling or difficulty starting the vehicle.
- Unusual rattling noise from under the car, often indicating a failing converter.
- Sudden decrease in fuel efficiency, requiring more frequent refueling.
- Activation of the Check Engine Light with a diagnostic code related to the catalytic converter (P0420 or P0430).
Tools and Materials Required
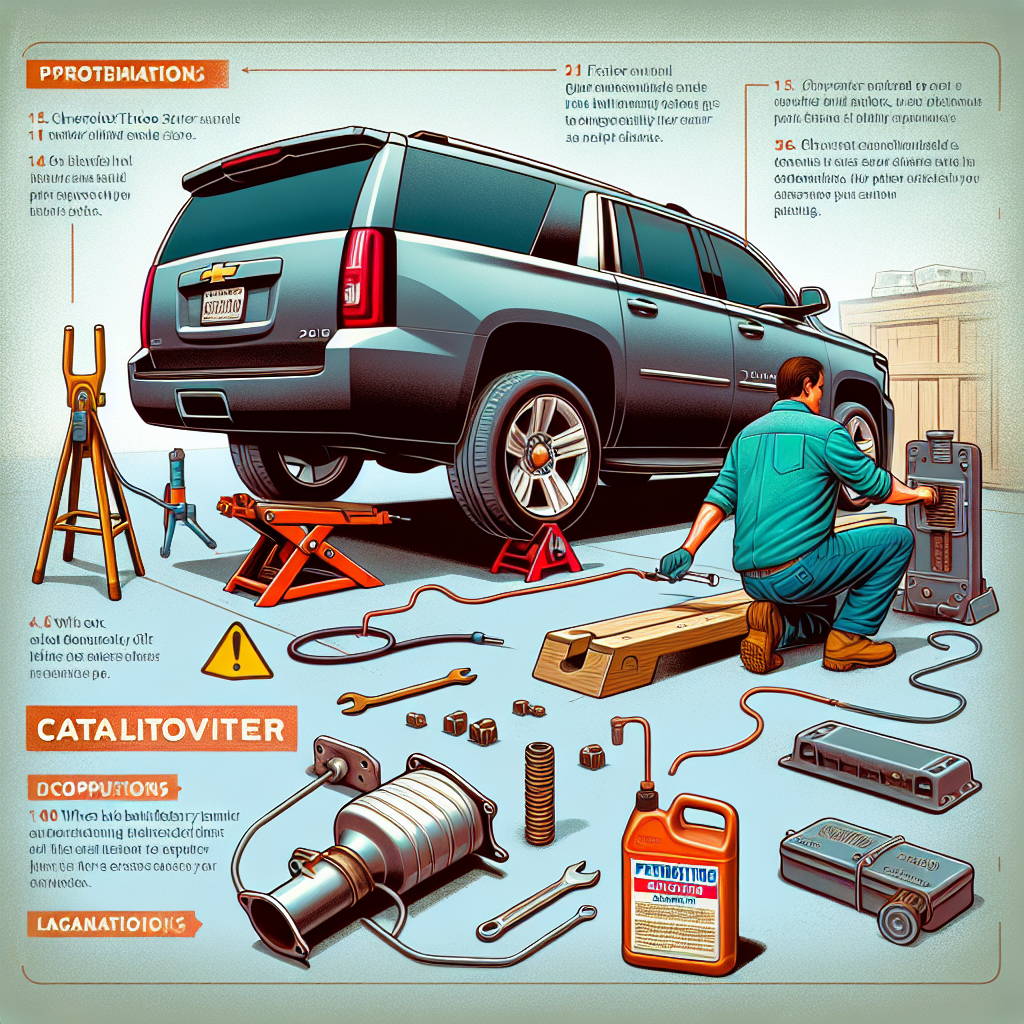
Before you begin, gather the following tools and materials:
- Floor jack and jack stands
- Wheel chocks
- Penetrating oil
- Basic socket set and wrenches
- Oxygen sensor socket
- New catalytic converter and gaskets
- Torque wrench
- Safety glasses and gloves
- Diagnostic tool
- Container for waste oil and old parts
- Work light or flashlight
Step-by-Step Guide for Replacing the Catalytic Converter
Step 1: Preparation
Ensure the vehicle is parked on a flat, stable surface and the engine is completely cool.
Step 2: Lifting the Vehicle
Use a floor jack to lift the front of the vehicle and secure it on jack stands. Place wheel chocks behind the rear wheels to prevent rolling.
Step 3: Locating the Catalytic Converter
Locate the catalytic converter(s) under the vehicle. The Chevrolet Tahoe 2015 may have one or two converters, depending on the model.
Step 4: Disconnecting the Battery
Disconnect the negative battery terminal to prevent any electrical accidents during the replacement process.
Step 5: Preparing the Exhaust System
Spray penetrating oil on the exhaust system's nuts and bolts to make them easier to remove.
Step 6: Removing the Oxygen Sensors
Loosen and remove the oxygen sensor(s) before the catalytic converter using an oxygen sensor socket. Be careful not to damage the sensors.
Step 7: Unbolting the Catalytic Converter
Unbolt the catalytic converter from the exhaust system. This may require removing heat shields and other components that obstruct access to the converter.
Step 8: Removing the Old Converter
Remove the old catalytic converter from the vehicle and compare it to the replacement part to ensure a perfect fit.
Step 9: Installing the New Converter
Install the new catalytic converter, securing it with new gaskets, nuts, and bolts. Tighten everything securely but be cautious not to over-tighten, which could damage the components.
Step 10: Reinstalling the Oxygen Sensors
Reinstall the oxygen sensor(s) into the new catalytic converter following the torque specifications for your vehicle.
Step 11: Double-Checking Installation
Double-check the installation, ensuring all components are properly secured and connected.
Step 12: Reconnecting the Battery
Reconnect the battery terminal and start the vehicle to check for exhaust leaks and proper operation. Clear any fault codes that may have been stored during the repair.
Step 13: Lowering the Vehicle
Lower the vehicle and take it for a test drive to ensure the repair was successful and the symptoms indicating a failing catalytic converter have been resolved.
Step 14: Disposing of the Old Converter
Dispose of the old catalytic converter in accordance with local regulations or recycling programs.
Common Mistakes to Avoid
- Failing to disconnect the battery, which can lead to electrical shorts or damage when removing and installing the converter.
- Not properly securing the vehicle on jack stands, risking injury or damage to the vehicle if it falls.
- Forgetting to use wheel chocks, which can lead to accidental rolling of the vehicle.
- Overtightening or undertightening the nuts and bolts on the new catalytic converter, affecting its performance and durability.
- Reusing old gaskets, which can cause exhaust leaks. Always use new gaskets for a proper seal.
- Installing the new catalytic converter backwards, which will prevent the engine from running correctly or at all.
- Neglecting to clear fault codes with a diagnostic tool after the replacement, which can keep the Check Engine Light on and affect fuel efficiency and engine performance.
- Disregarding safety measures like wearing gloves and safety glasses, increasing the risk of injury.
Frequently Asked Questions (FAQ)
How long does it take to replace a catalytic converter?
Replacing a catalytic converter generally takes between 1.5 to 3 hours, depending on your experience level and the specific model of your vehicle.
Is it necessary to replace both catalytic converters if my vehicle has two?
Not necessarily. You should only replace the catalytic converter that is failing. However, it's always a good idea to check the condition of both.
Can I drive my Chevrolet Tahoe with a failing catalytic converter?
While you can technically drive with a failing catalytic converter, it's not recommended. A failing converter can lead to decreased performance, increased emissions, and potential damage to other components of your vehicle.
How much does it cost to replace a catalytic converter?
The cost of replacing a catalytic converter can vary widely based on the make and model of your vehicle, as well as labor rates in your area. For a Chevrolet Tahoe 2015, the cost typically ranges from $600 to $2,200.
What causes a catalytic converter to fail?
Catalytic converters can fail due to a variety of reasons including contamination from engine coolant or oil, unburned fuel entering the converter, and physical damage from road debris or accidents.

