

Introduction
In this video, the host tests a low-cost DIY windshield repair kit purchased from Amazon. With a rock chip on their windshield, the goal is to assess the effectiveness of the DIY kit compared to professional repairs.
Unboxing the DIY Windshield Repair Kit
The DIY kit includes:
- Injector syringe for applying resin
- Two bottles of resin (light-cured)
- Applicator with suction cup mount
- Razor blade and push pin for excess material removal
- Instruction manual
- Plastic strips for sealing the repair
The host notes that the kit is smaller than expected but contains essential tools for the repair.
Preparation and Application Process
- Vehicle Positioning: The vehicle is moved to a shaded area to prevent premature curing of the resin.
- Cleaning: The windshield is cleaned thoroughly with a dry cloth to remove dust and debris.
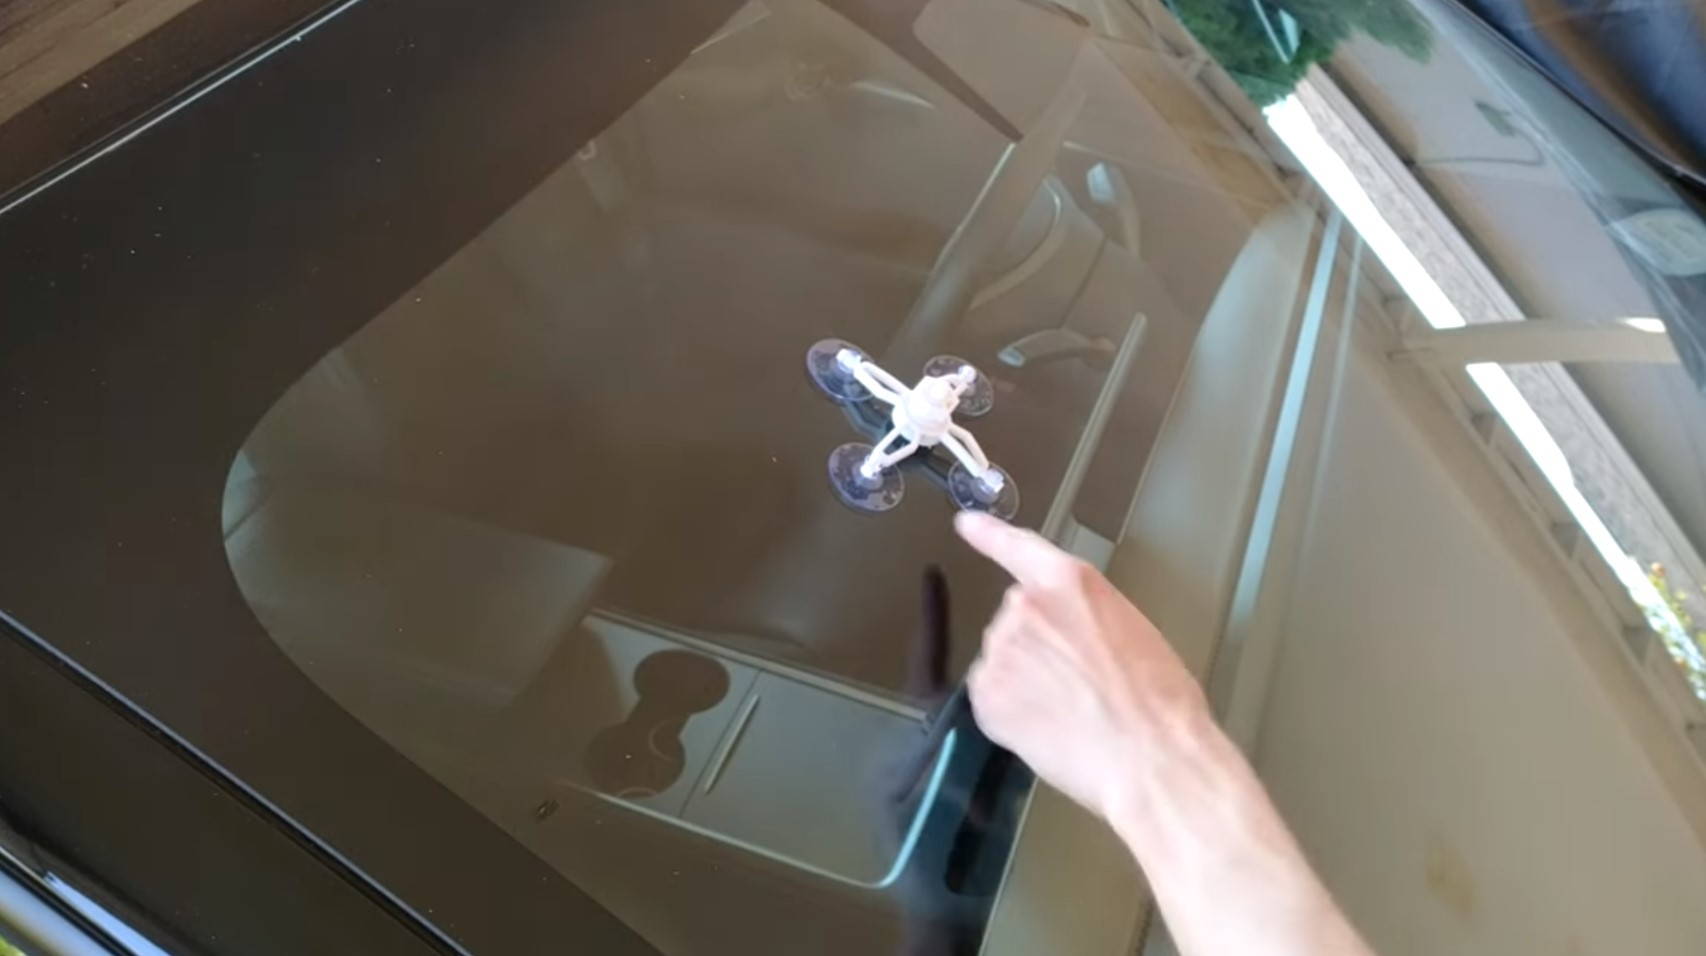
- Applying Suction Cups: The suction cups are attached over the chip to ensure a good seal for resin injection.
Vacuum and Pressurization Steps
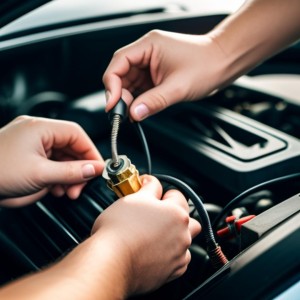
- Resin Injection: The host adds 5-8 drops of resin into the chamber.
- Vacuum Creation: The syringe is used to create a vacuum, removing air from the crack.
- Positive Pressure Application: After vacuuming, the syringe is used to apply positive pressure to push resin into the crack.
Finalizing the Repair
- Additional Resin: More resin is added if needed, and the vacuum/pressure steps are repeated.
- Plastic Sealing: A plastic sheet is applied to seal the repair while the resin cures in the sun for 5-10 minutes.
- Excess Resin Removal: After curing, the plastic is removed, and excess resin is cleaned using a razor blade and acetone.
Evaluation and Conclusion
The host finds the DIY repair effective but notes it’s not as perfect as professional repairs. The delamination and smaller cracks are mostly filled, with the larger crack appearing significantly less noticeable. While not perfect, the repair extends the windshield’s longevity and is a viable option for those preferring a DIY approach over professional services.
Viewer Interaction
The host invites viewers to comment on their experiences with windshield repair kits and share their opinions on the success of the DIY repair.
FAQ
Are DIY windshield repair kits effective?
DIY windshield repair kits can be quite effective for minor chips and cracks, offering a cost-saving alternative to professional repairs. The results typically improve the appearance of the damage and prevent further spreading, though they may not achieve the same level of perfection as professional services. Operator skill and the quality of the kit play significant roles in the outcome.
What steps are involved in using a DIY windshield repair kit?
- Prepare the Windshield: Clean the area around the chip or crack thoroughly.
- Apply Suction Cups: Attach the suction cups over the damage to ensure a good seal.
- Inject Resin: Add resin into the applicator and use a syringe to create a vacuum, removing air from the crack.
- Apply Positive Pressure: Use the syringe to push resin into the crack under positive pressure.
- Seal and Cure: Apply a plastic sheet over the repair and allow it to cure in the sun for 5-10 minutes.
- Clean Excess Resin: Remove the plastic sheet and clean up any excess resin with a razor blade and solvent.
For detailed guidance and to view the repair in action, refer to the video tutorial.
Author video @DielectricVideos - link channel: https://www.youtube.com/@DielectricVideos